
Image Editor
Free app for editing images and photos
Free app for editing images and photos
Last updated: 2026-11-02
Enhancing a photo can make shaded details easier to see, reduce an unwanted color cast, or give colors more definition. This guide uses Image Editor's adjustments and filters together, following one photograph from the original to the finished result.
The examples use public-domain nature photographs. Select a photo to view it at full size, or download the original from the source link in its caption to follow along. For explanations of individual controls, see the photo adjustments guide and photo filters guide.
In this waterfall photo, the pale water is easy to see, but much of the surrounding rock is in deep shade. The aim is to bring out the rocks and foliage while keeping a clear difference between the bright water and its surroundings.
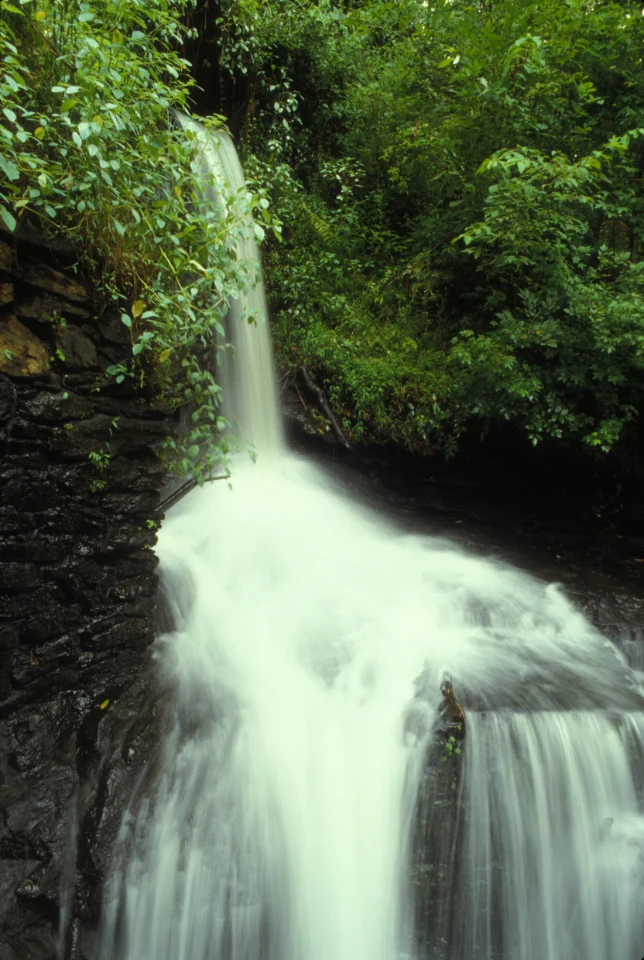
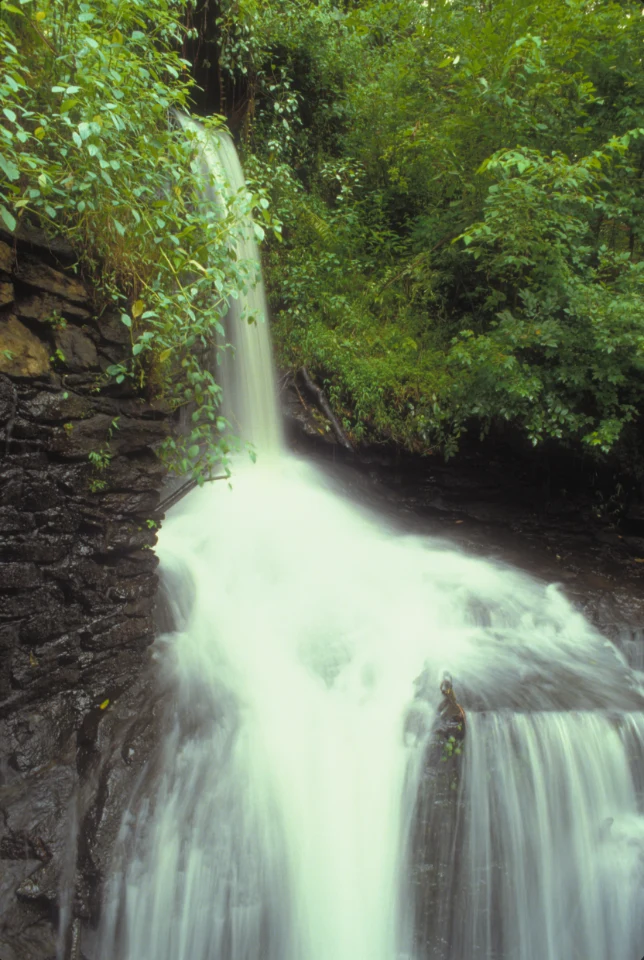
Start with the freshly opened original to follow these settings. Auto Adjust is off, and all unlisted adjustments remain at 0. The waterfall steps build on one another: the Before images in the color and filter sections show the preceding step. Set sliders to the stated values, rather than adding those amounts to an existing value.
When only part of a photo is dark, start with Shadows. Increasing Exposure would brighten the whole photo, including the already pale water. Shadows gives more attention to the darker areas.
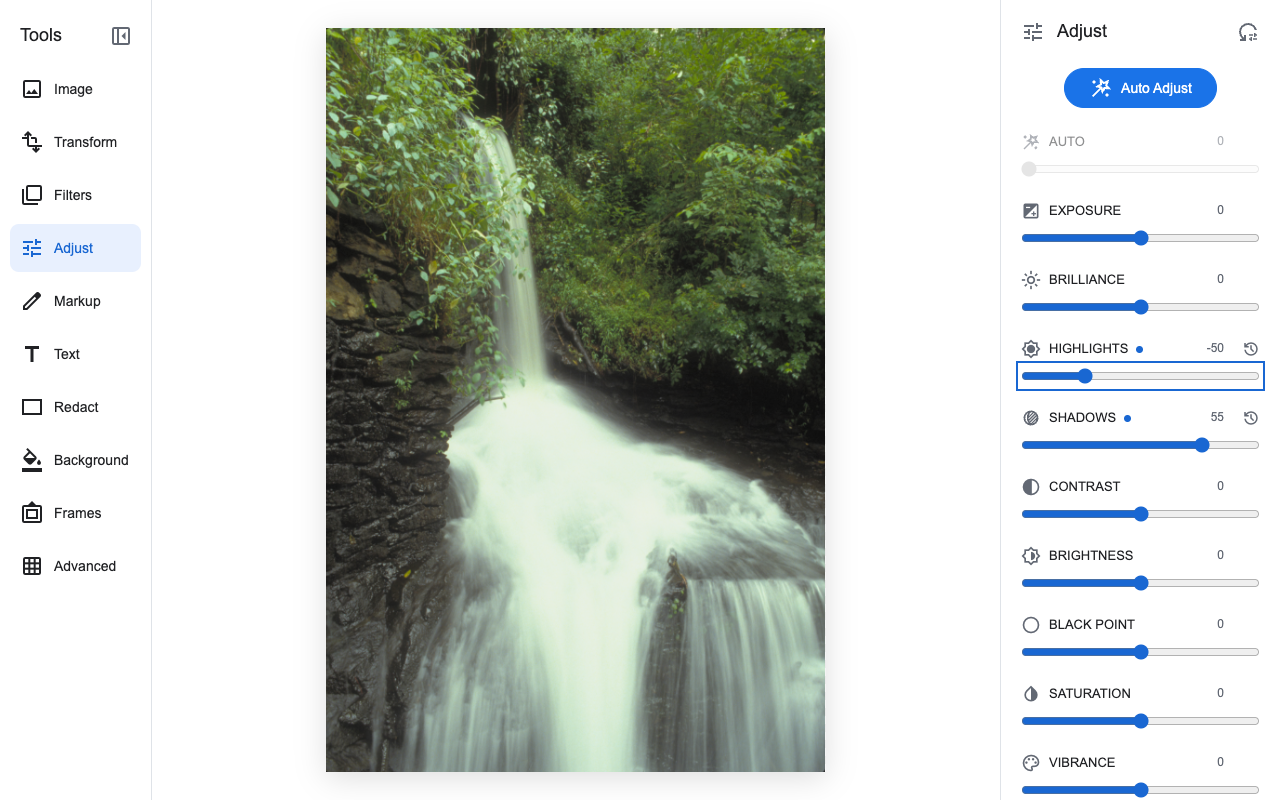
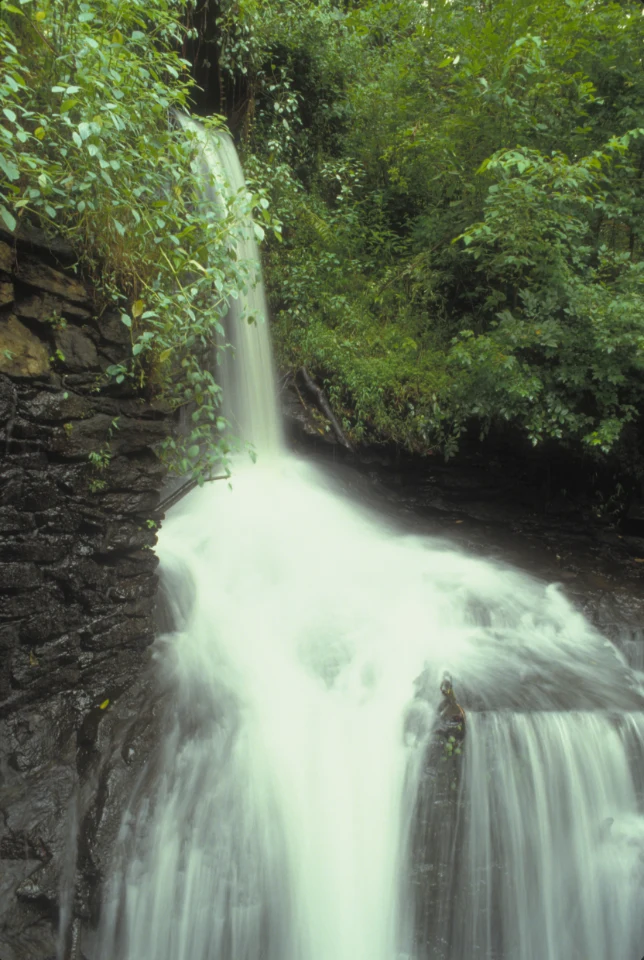
Check the light and dark areas together. Raising Shadows too far can make the scene look flat. Lowering Highlights can soften bright areas, but it cannot recover detail that was not recorded in the original photo.
Keep the light adjustments in place. The water and wet rocks have a green cast, while the foliage could use a little more color. These are separate changes: Tint shifts the color balance, and Vibrance increases less intense colors.
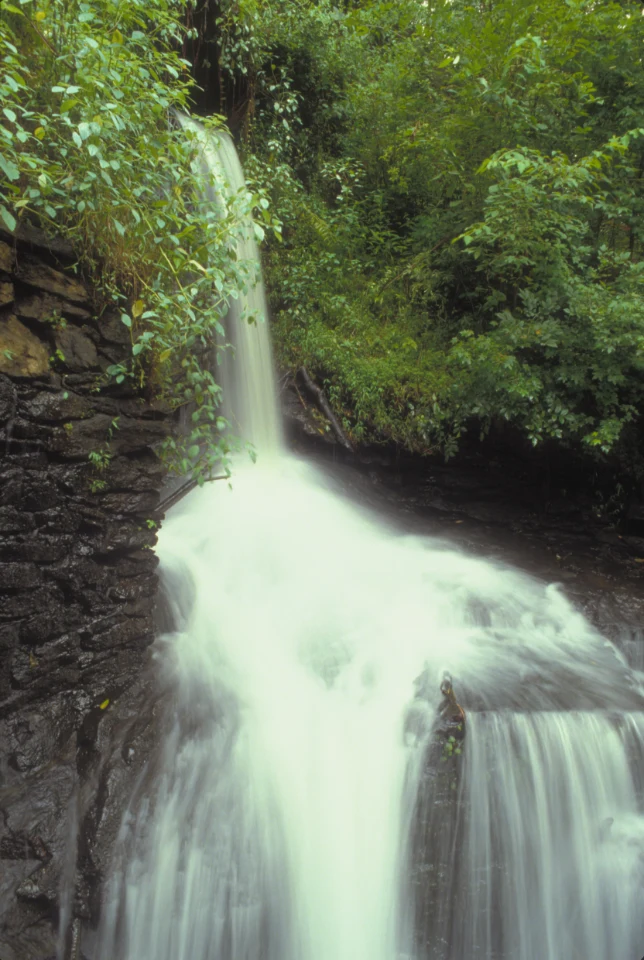
This is a smaller change than the light adjustment. A shaded outdoor scene does not always need perfectly white water or perfectly gray rocks; use them as references while deciding how much to change.
A filter can bring the changes together by adding color and contrast. The adjustments you have already made remain in place when you choose a filter.
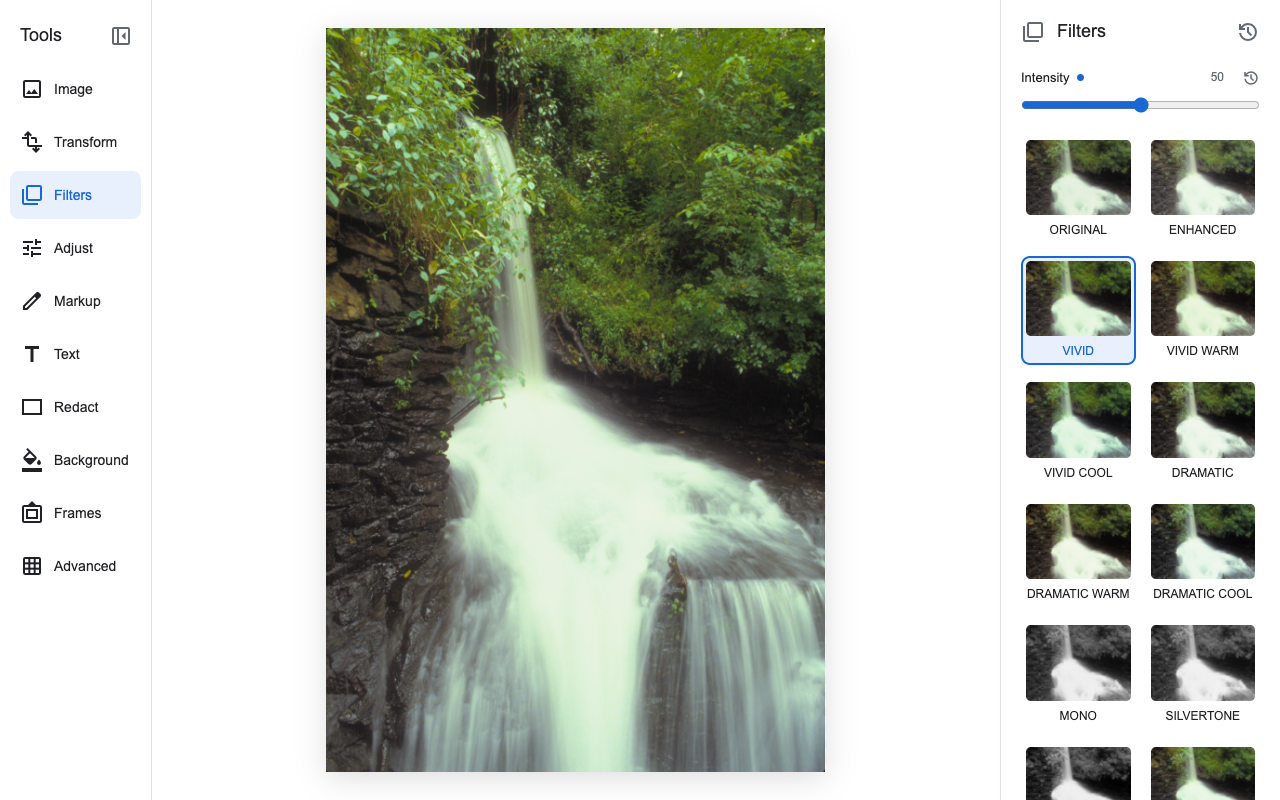
The final settings are Shadows +55, Highlights -50, Tint +20, and Vibrance +25, with Vivid at Intensity 50. The filter adds to the adjustments, so it does not need to be at full strength.
To compare the adjusted photo with and without the filter, select Original in Filters. Your adjustments remain. If you select Vivid again, set Intensity back to 50; choosing a filter returns its intensity to 100.
The same settings will not suit every photograph. In this snowy scene, the main change is color balance. The snow is already bright, so the waterfall's Shadows and Highlights settings are not needed.
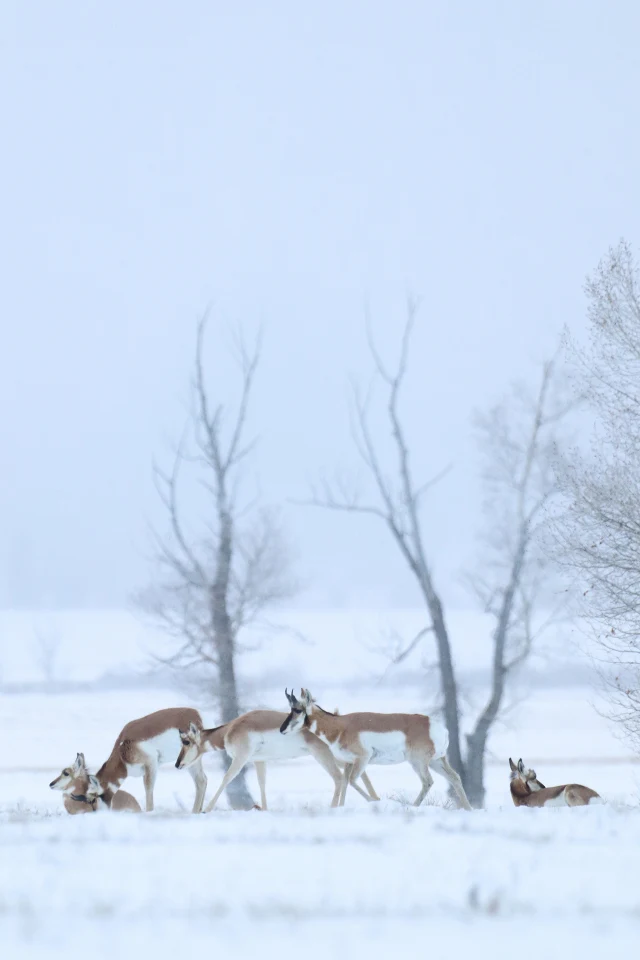
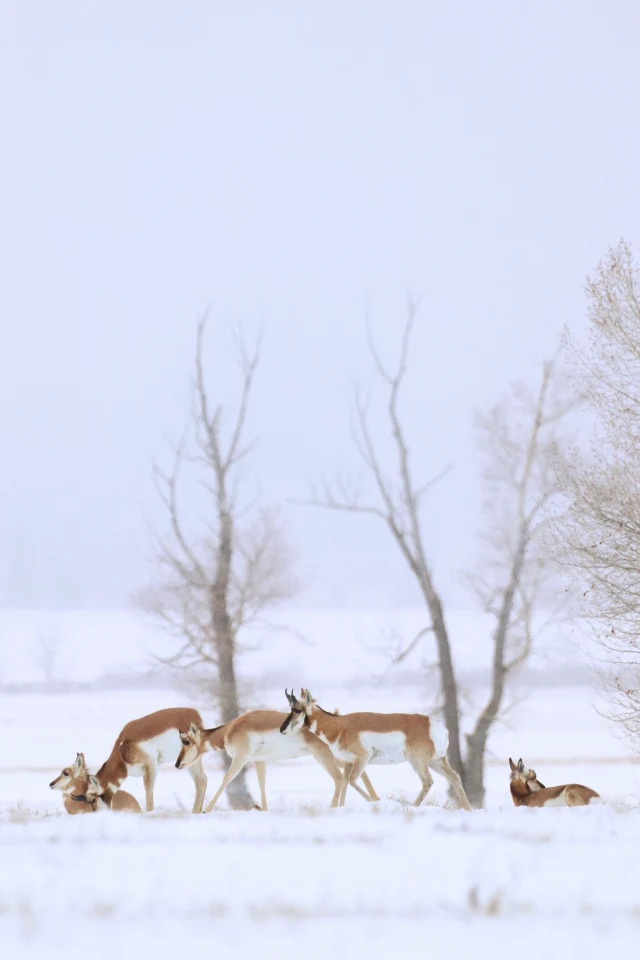
If the snow begins to look too yellow or pink, reduce Warmth or the filter intensity. Start with the change your photo needs, then decide whether a filter adds anything useful.
Choose Transform, then select Compare above the image to switch between the original and your edits. You can also press and hold it for a quick look. On a phone or in a narrow window, Compare is the icon beside the aspect-ratio controls. Look at the whole photo, then zoom in to check the shaded details and bright areas.
Use Undo to step back through changes. Choose Adjust or Filters again to continue editing. The reset icon beside the Filters heading (Reset filters) removes the filter while keeping your adjustments. The reset icon beside the Adjust heading (Reset adjustments) clears the adjustment sliders and Auto Adjust while keeping the filter. Use the reset for the part you want to try again.
When you are satisfied, select Download to save an edited copy to your computer. For other ways to save, see Save and export.
Both example photos are public domain. The source links in the captions identify the photographers and provide the original files. The photos retain their original framing. Examples were edited in Image Editor and reduced in size for this page.