
Image Editor
Free app for editing images and photos
Free app for editing images and photos
Last updated: 2026-11-02
Photo adjustments change the light, color, and detail in an image. They can bring out a shaded foreground, soften a bright sky, or correct a photograph that looks too blue. Image Editor provides individual controls for these changes, along with Auto Adjust to help you get started.
This guide uses public-domain nature photographs to show how the adjustments work. Each comparison uses the same framing before and after the change. Select a photo to view it at full size, or download the original from the source link in its caption to follow along in Image Editor.
Make a small change, then look at the whole image. A setting that helps one part of a photo may be too strong elsewhere. The examples below use strong settings, usually +80 or -80, to make the differences visible. These are demonstrations; smaller changes will often suit your own photos better.
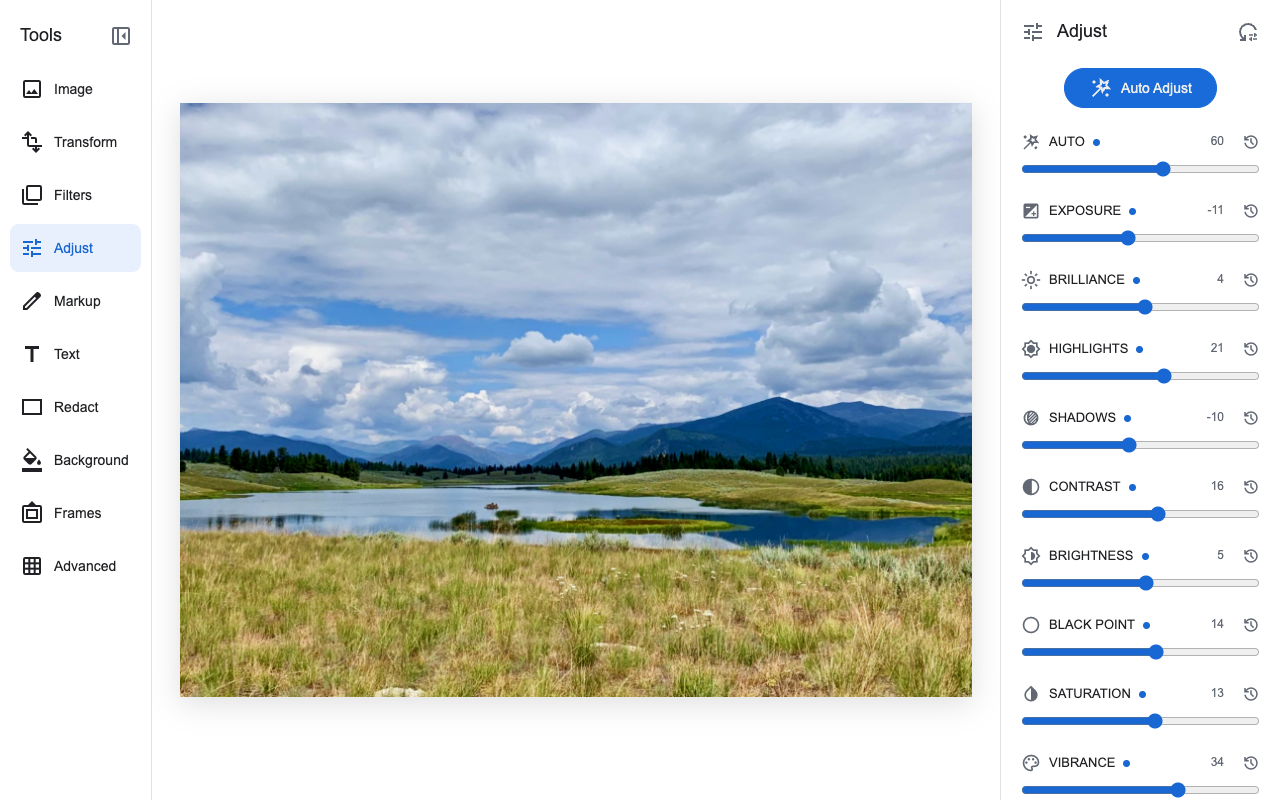
Auto Adjust examines your photo and sets the adjustment sliders automatically. The analysis runs in your browser. It is a useful starting point for a photo that is too dark or has uneven lighting.
After you select Auto Adjust, the AUTO slider starts at a recommended value chosen for your photo. Move it left for a darker result or right for a brighter result. You can then change individual sliders, such as Shadows or Warmth, to refine the photo.
To return to the settings you had before Auto Adjust, select the reset arrow beside AUTO. Auto Adjust is separate from the Enhanced filter in the Filters panel.
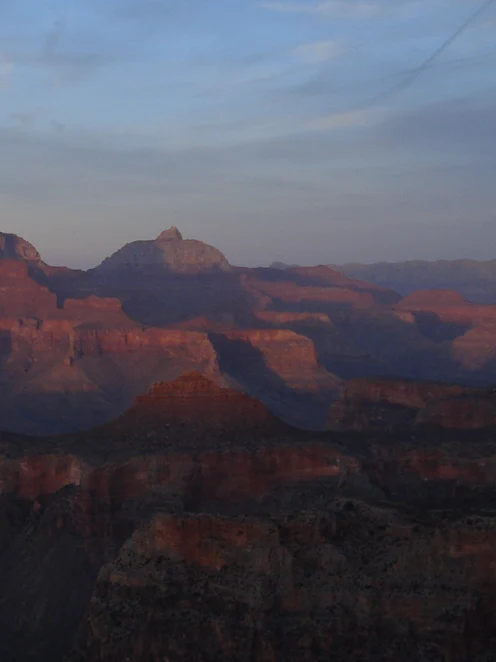
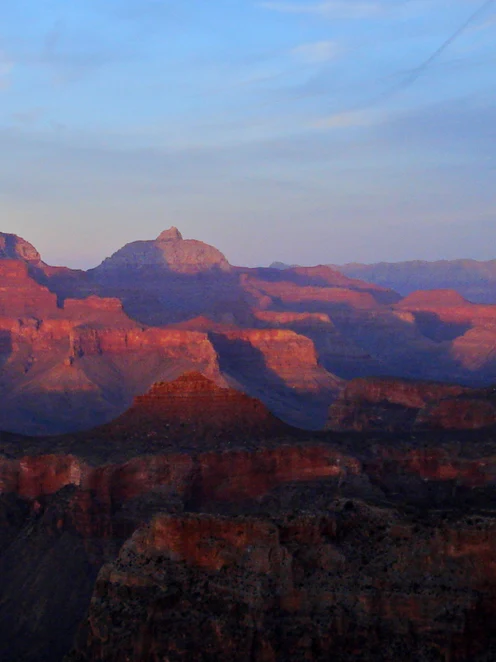
The remaining examples start from the original photo with Auto Adjust off. Only the named setting changes, so you can see its effect on its own.
Exposure makes the photo lighter or darker overall. Try increasing it when most of the image is too dark, while watching bright areas such as clouds or white flowers.
Brightness changes the overall light using a different balance of dark and bright tones. Increasing it lifts the middle tones while keeping pure black and white in place. Try a small change after Exposure, or use it on its own.
Brilliance adjusts light using the surrounding tones in the photo. It can help bring out a landscape that looks dull, especially where shaded and sunlit areas meet. Start with a small increase and check that the result still looks natural.
Highlights changes the brightest areas. Lower it to soften a bright sky or reflections on water. This can make existing detail easier to see, but it cannot restore detail that was not recorded in the photo.
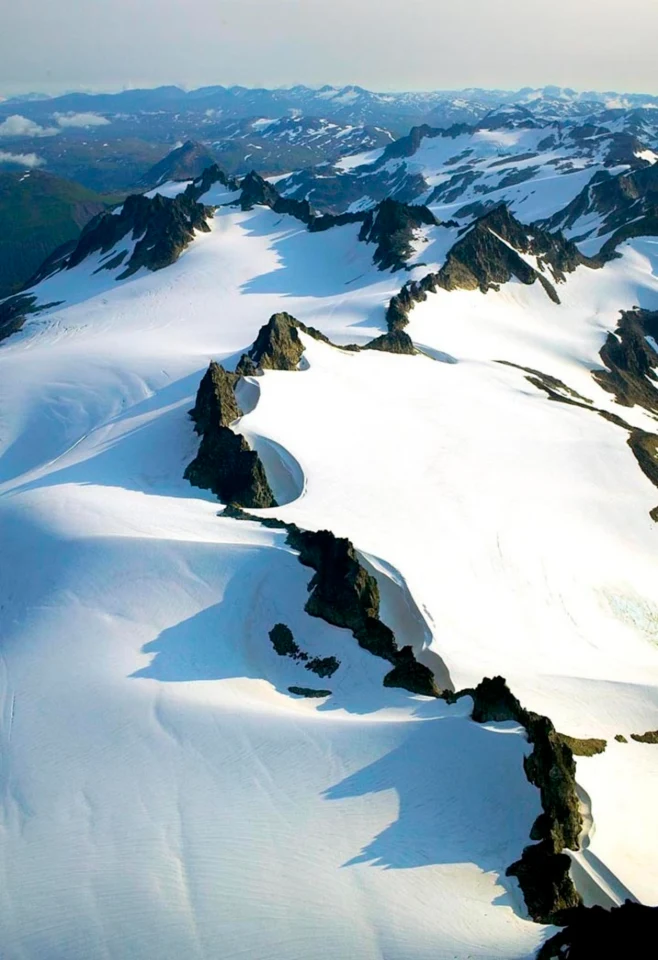
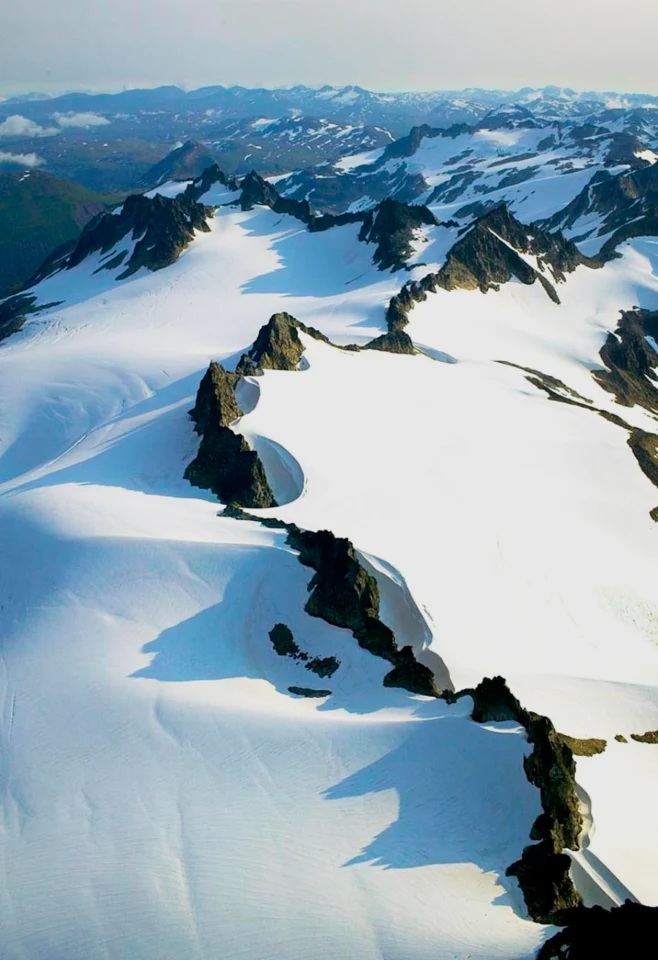
Shadows changes the dark areas. Increase it to make trees, rocks, or other shaded subjects easier to see. A large increase can also reveal grain or patches of color in a dark photograph.
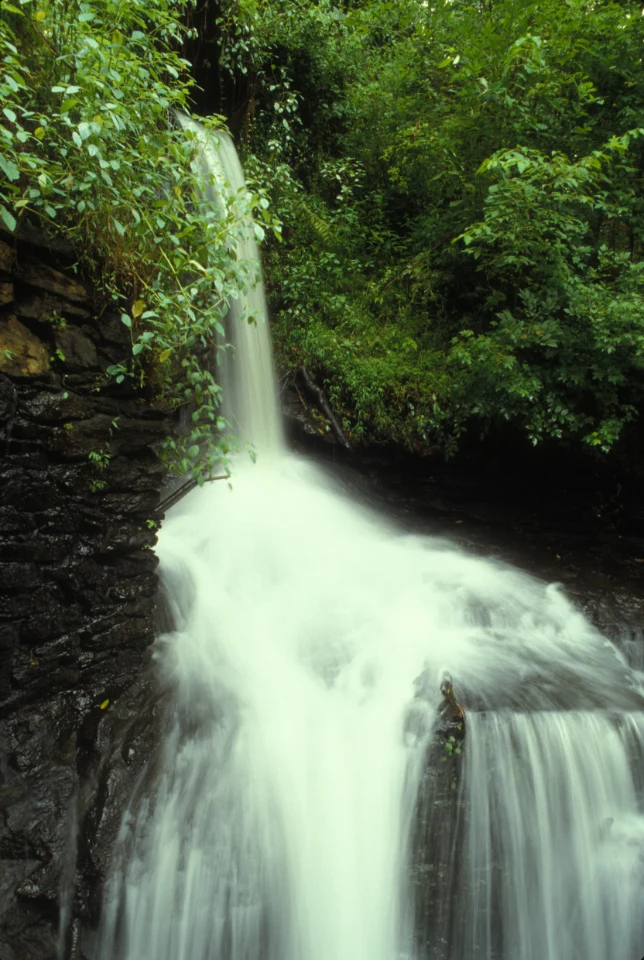
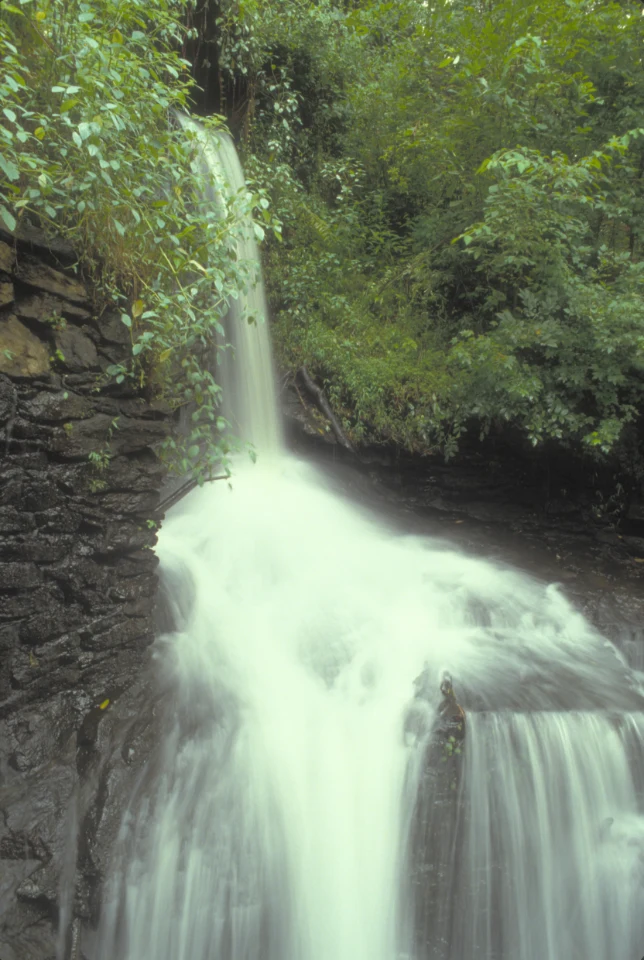
Contrast changes the separation between light and dark. Increase it for a stronger distinction between the two, or decrease it for a softer appearance. Too much contrast can hide detail in both the brightest and darkest areas.
Black point controls the depth of the darkest tones. Increase it to make the darkest areas darker; decrease it to lift them. White point controls the brightest tones. Increasing it makes them brighter, while decreasing it makes them more subdued.
Gamma changes the middle tones, between black and white. Move it right to lighten them or left to darken them. It can help when the photo needs a change in these areas without changing pure black or pure white.
Saturation changes the strength of the colors throughout the image. Increase it for stronger color or reduce it for less intense color. At -100, the photo becomes black and white.
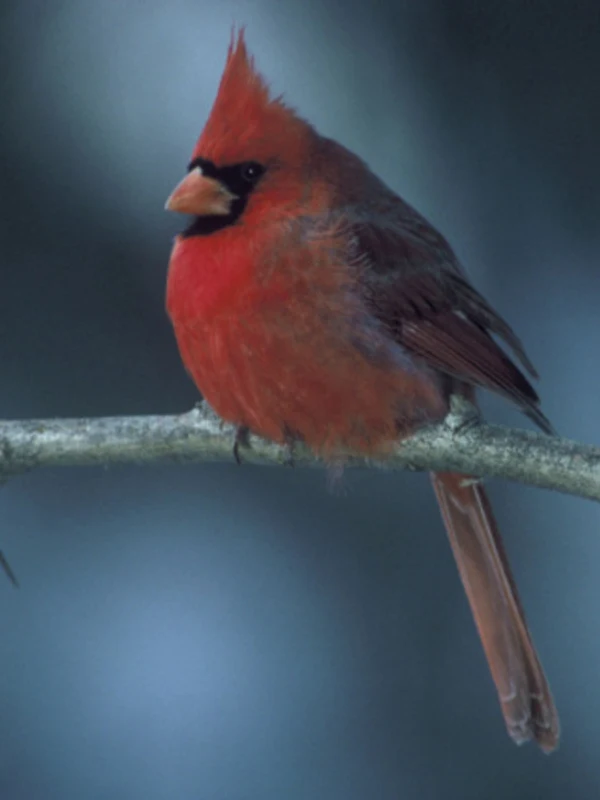

Vibrance gives more attention to colors that are less intense. Try it when a landscape looks pale but some flowers or leaves are already colorful. Check these stronger colors as you work so they do not overpower the rest of the image.
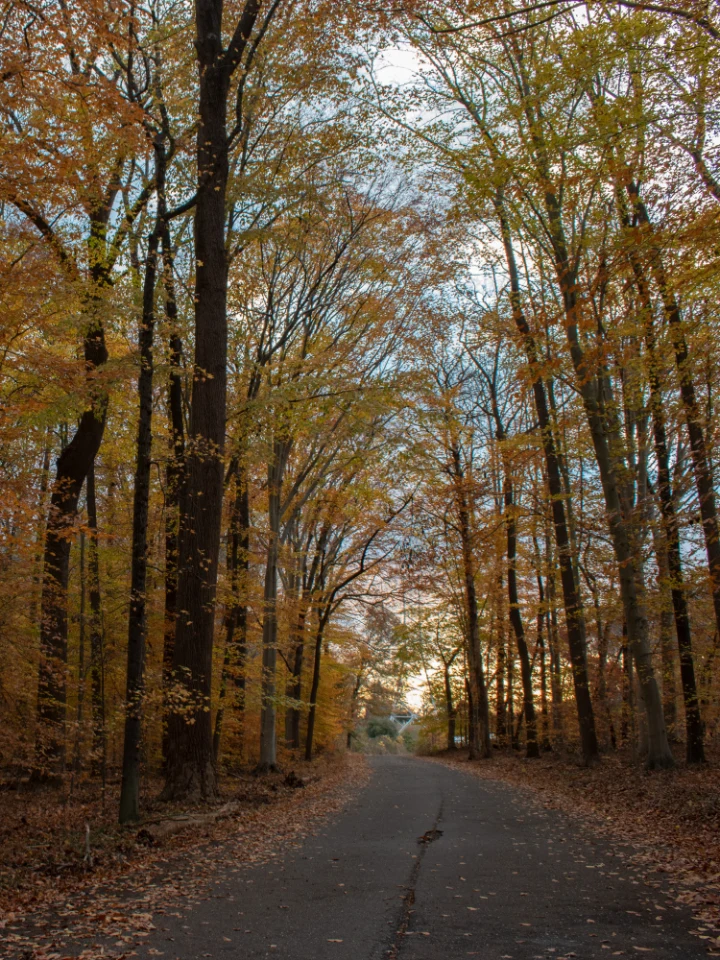
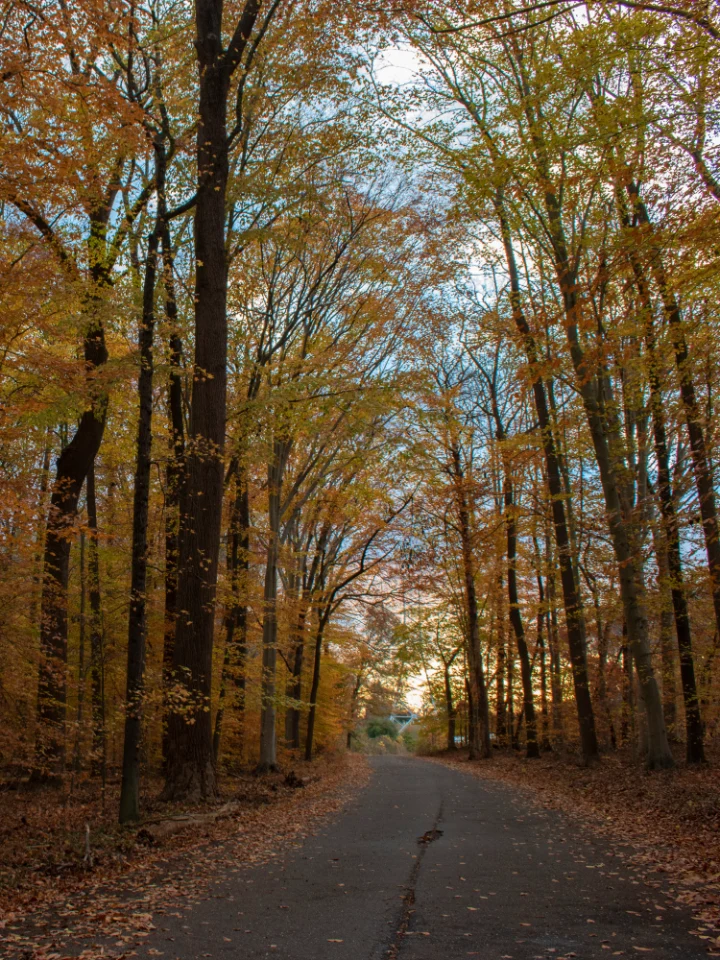
Warmth shifts the color balance toward warmer yellows and reds on the right, or cooler blues on the left. It can help correct the blue appearance of a photo taken in shade.
Tint shifts the balance toward magenta on the right or green on the left. Use it when a photo has an unwanted green or magenta cast. A white cloud or gray rock can provide a useful reference while adjusting either control.
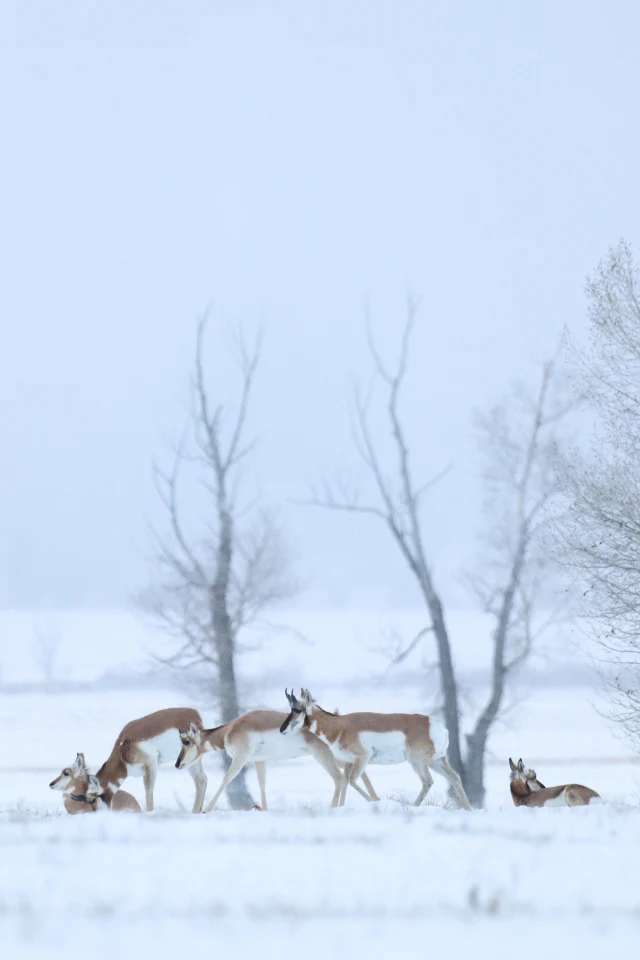
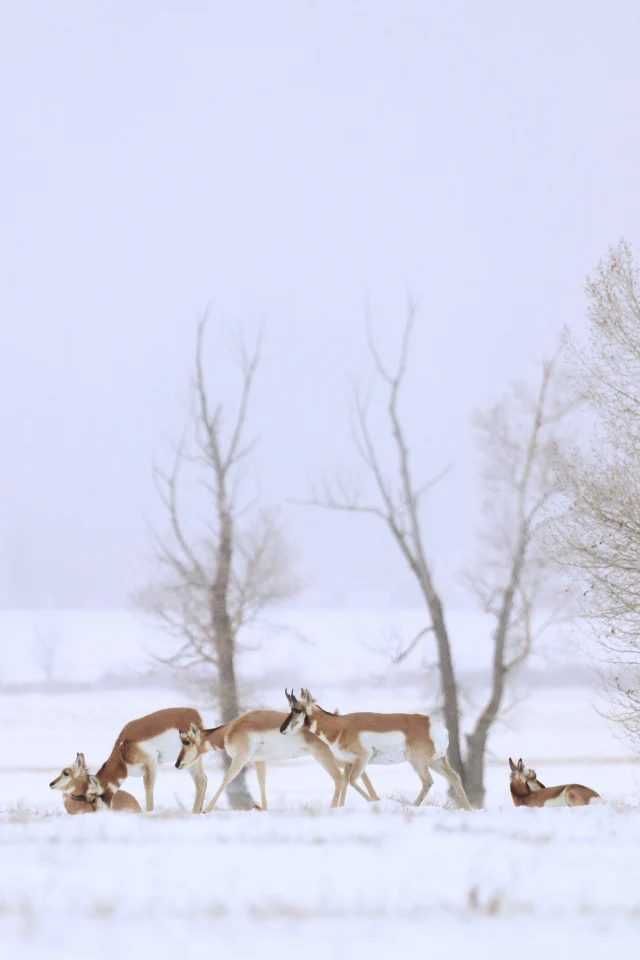
Sharpness makes fine edges more distinct. A small increase can help leaves, branches, or stone textures look clearer. Zoom in while adjusting it, since a strong setting can make edges look harsh. Negative values soften fine detail.
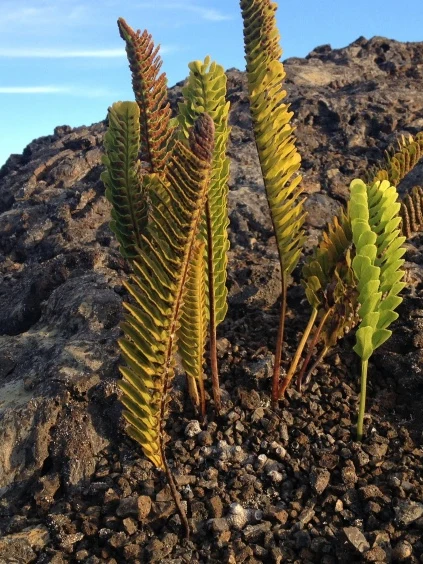
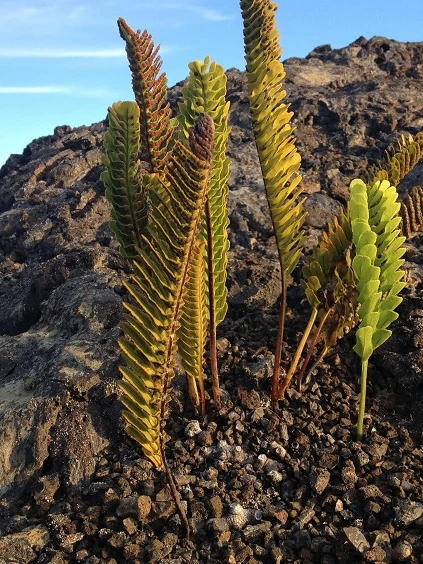
Clarity changes the contrast around larger areas of detail. Increase it to emphasize texture in rocks or tree bark; decrease it for a softer appearance. Check both the close-up detail and the full image before keeping the change.
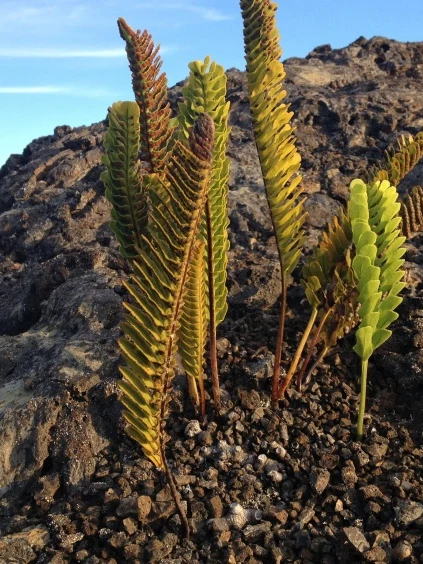
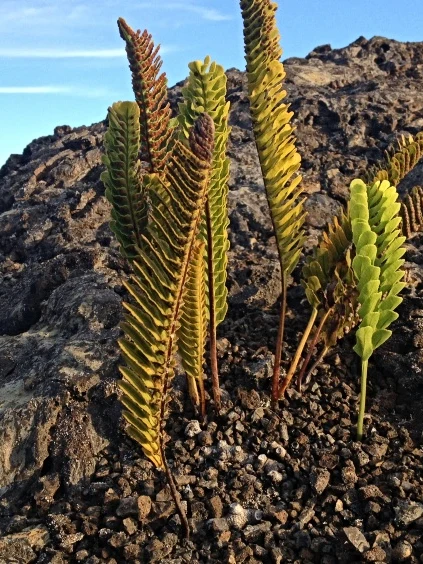
Vignette changes the light around the edges of the photo. Positive values darken the edges, which can draw attention toward the center. Negative values brighten them. A small amount is often enough.
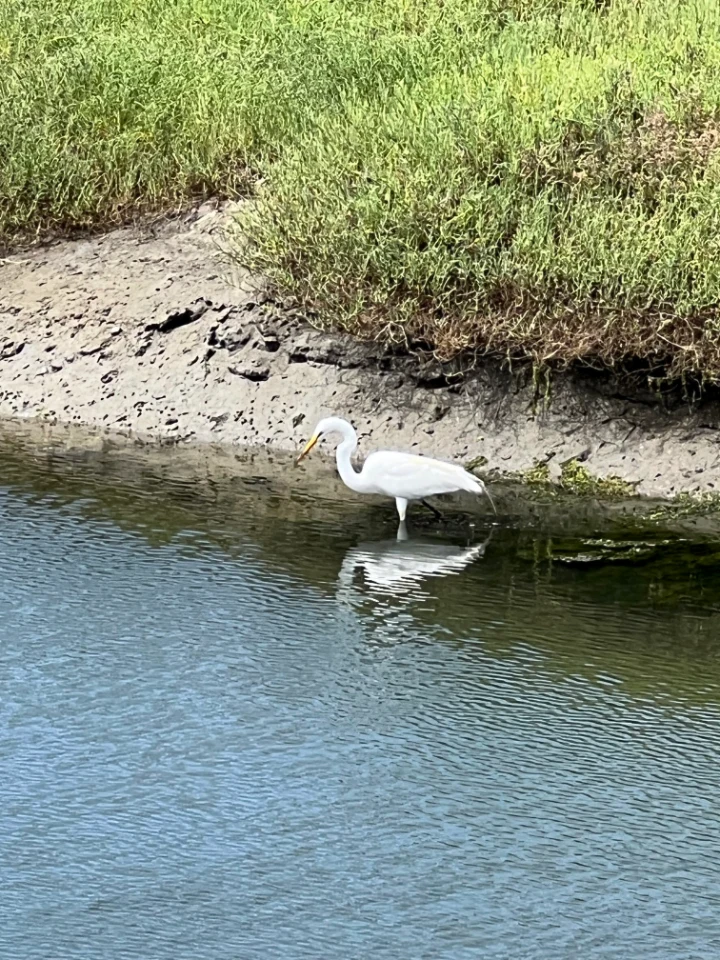
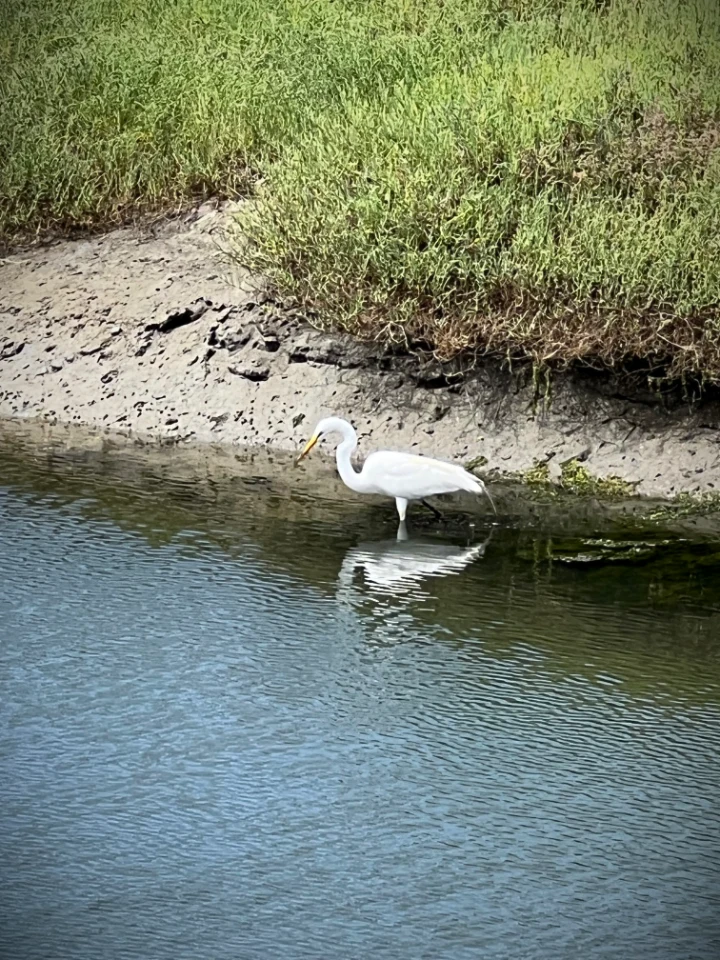
Choose Transform, then select Compare above the image to switch between the original and your edits. You can also press and hold it for a quick look. On a phone or in a narrow window, Compare is the icon beside the aspect-ratio controls. Choose Adjust again to continue changing the settings.
Each changed slider has a reset arrow. The reset icon beside the Adjust heading (Reset adjustments) clears all adjustments, including Auto Adjust. Use Undo to step back through individual changes.
To try a preset combination of changes, see the visual guide to photo filters. You can use a filter together with the adjustments described here. For a complete example, see how to enhance a photo.
When you are satisfied with the photo, select Download to save an edited copy to your computer. For other ways to save, see Save and export.
All example photos are public domain. The source links in the captions identify the photographers or contributing agencies and provide the original files. Some photos were cropped to a portrait shape, as noted in their captions. Examples were edited in Image Editor and reduced in size for this page.